
- After clicking on the logo from the toolbar, just start your functional testing on the web application.
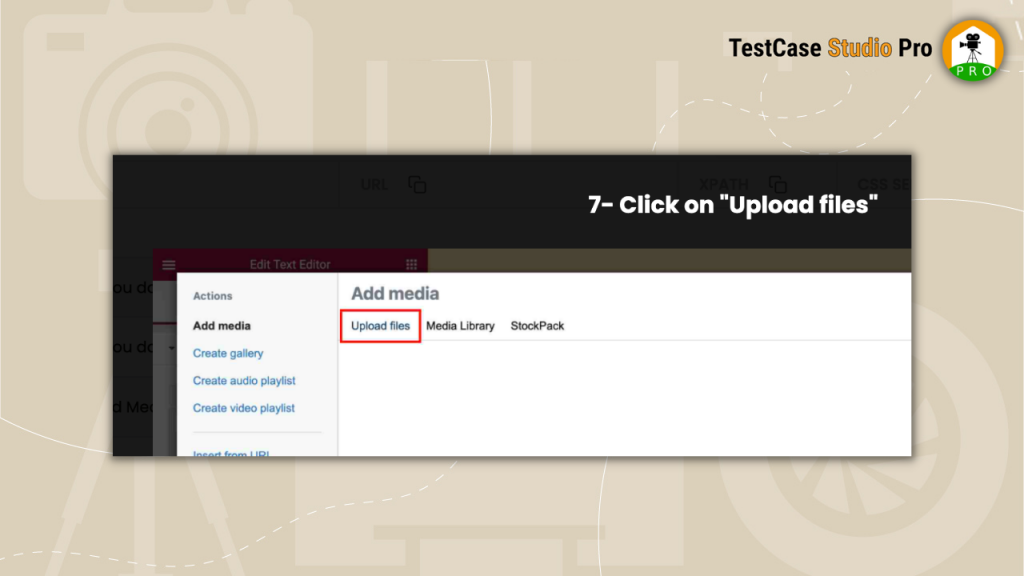
- It will automatically taking the screenshot for every step.
- It will also highlight the area with red solid border in the screenshot where action was performed.
- Good part is that there will not be any memory issue and there is no limit for screenshots.
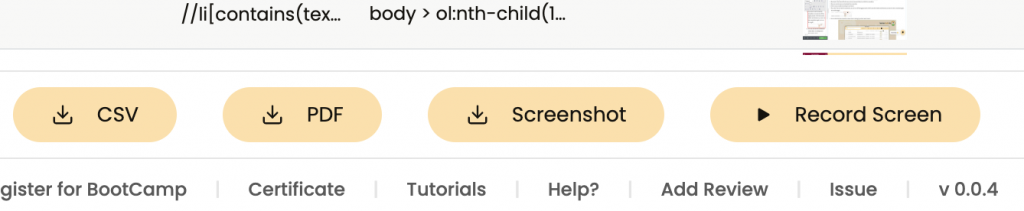
- Once you are done you can download the screenshots.
- Click on any screenshot to enlarge it and view it.
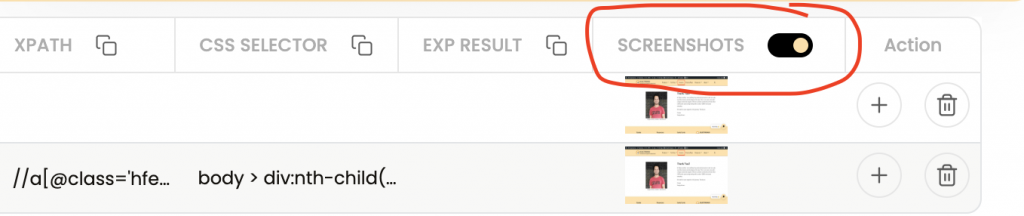
- If you don’t want to take the screenshot, you can turn off the toggle present at the Screenshot header and whenever you want to take screenshots again, turn on the toggle. By default toggle will be always on.
- You can also hide the screenshot column from UI setting if you don’t want to see it.
