How can I generate a stable automation script from a recorded test case using TestCase Studio?
How to use:
To generate a stable automation script from TestCase Studio for a recorded test case, follow these steps:
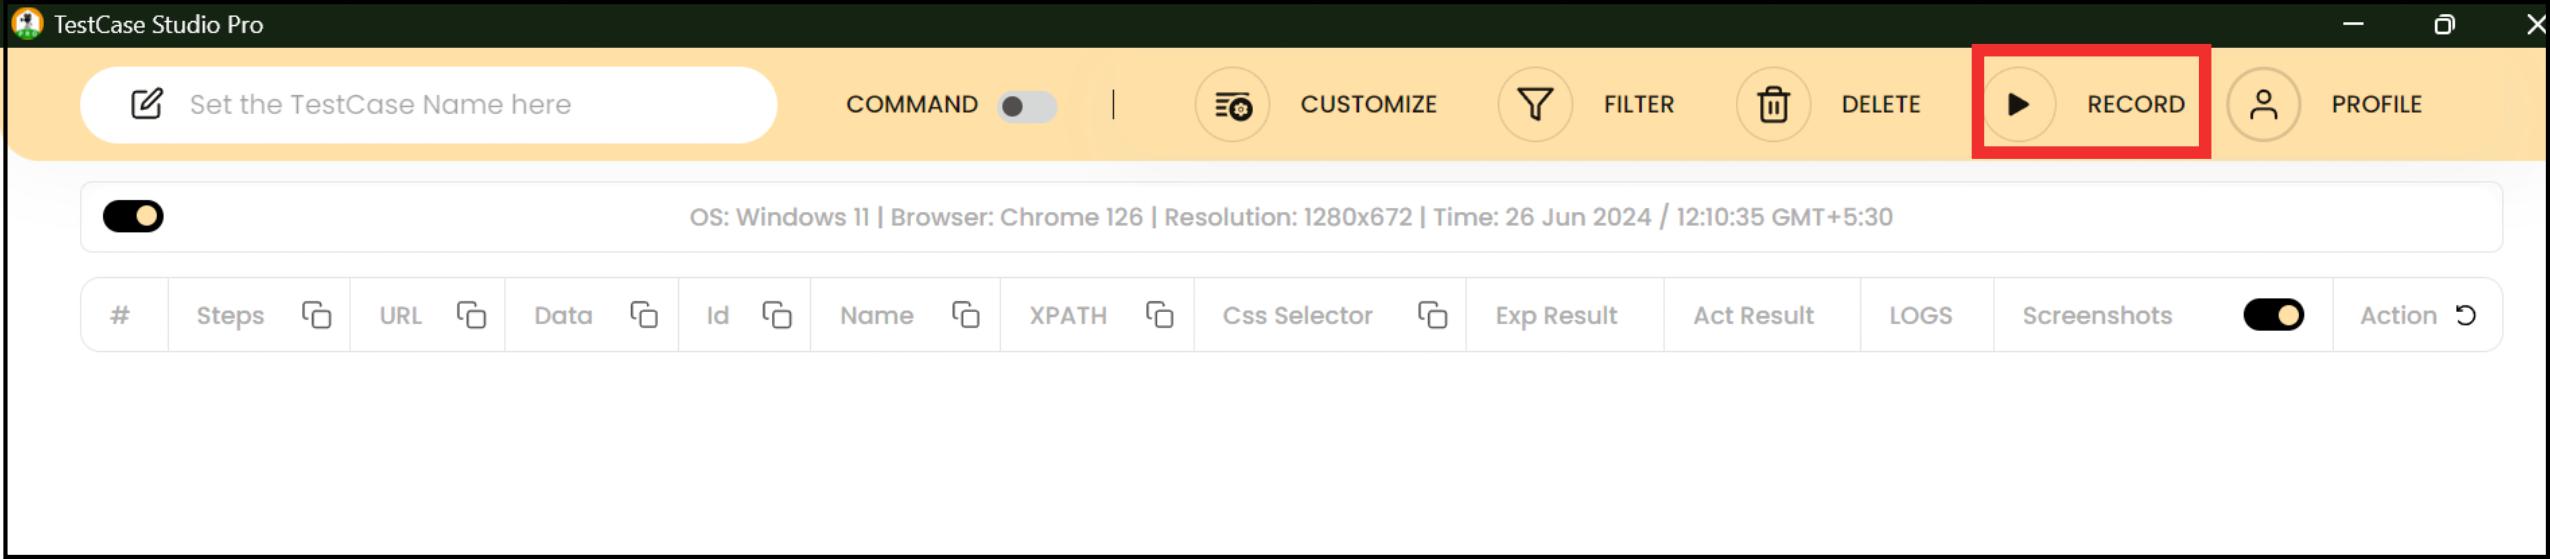
1. Start Recording: Open TestCase Studio (Pro or Free version) and start recording your actions. Perform the necessary steps on your application, such as entering an email, password.
2. Generate Script: After recording, TestCase Studio will display the steps along with data like ID, name, XPath, and CSS selectors. This information is crucial for generating the automation script.
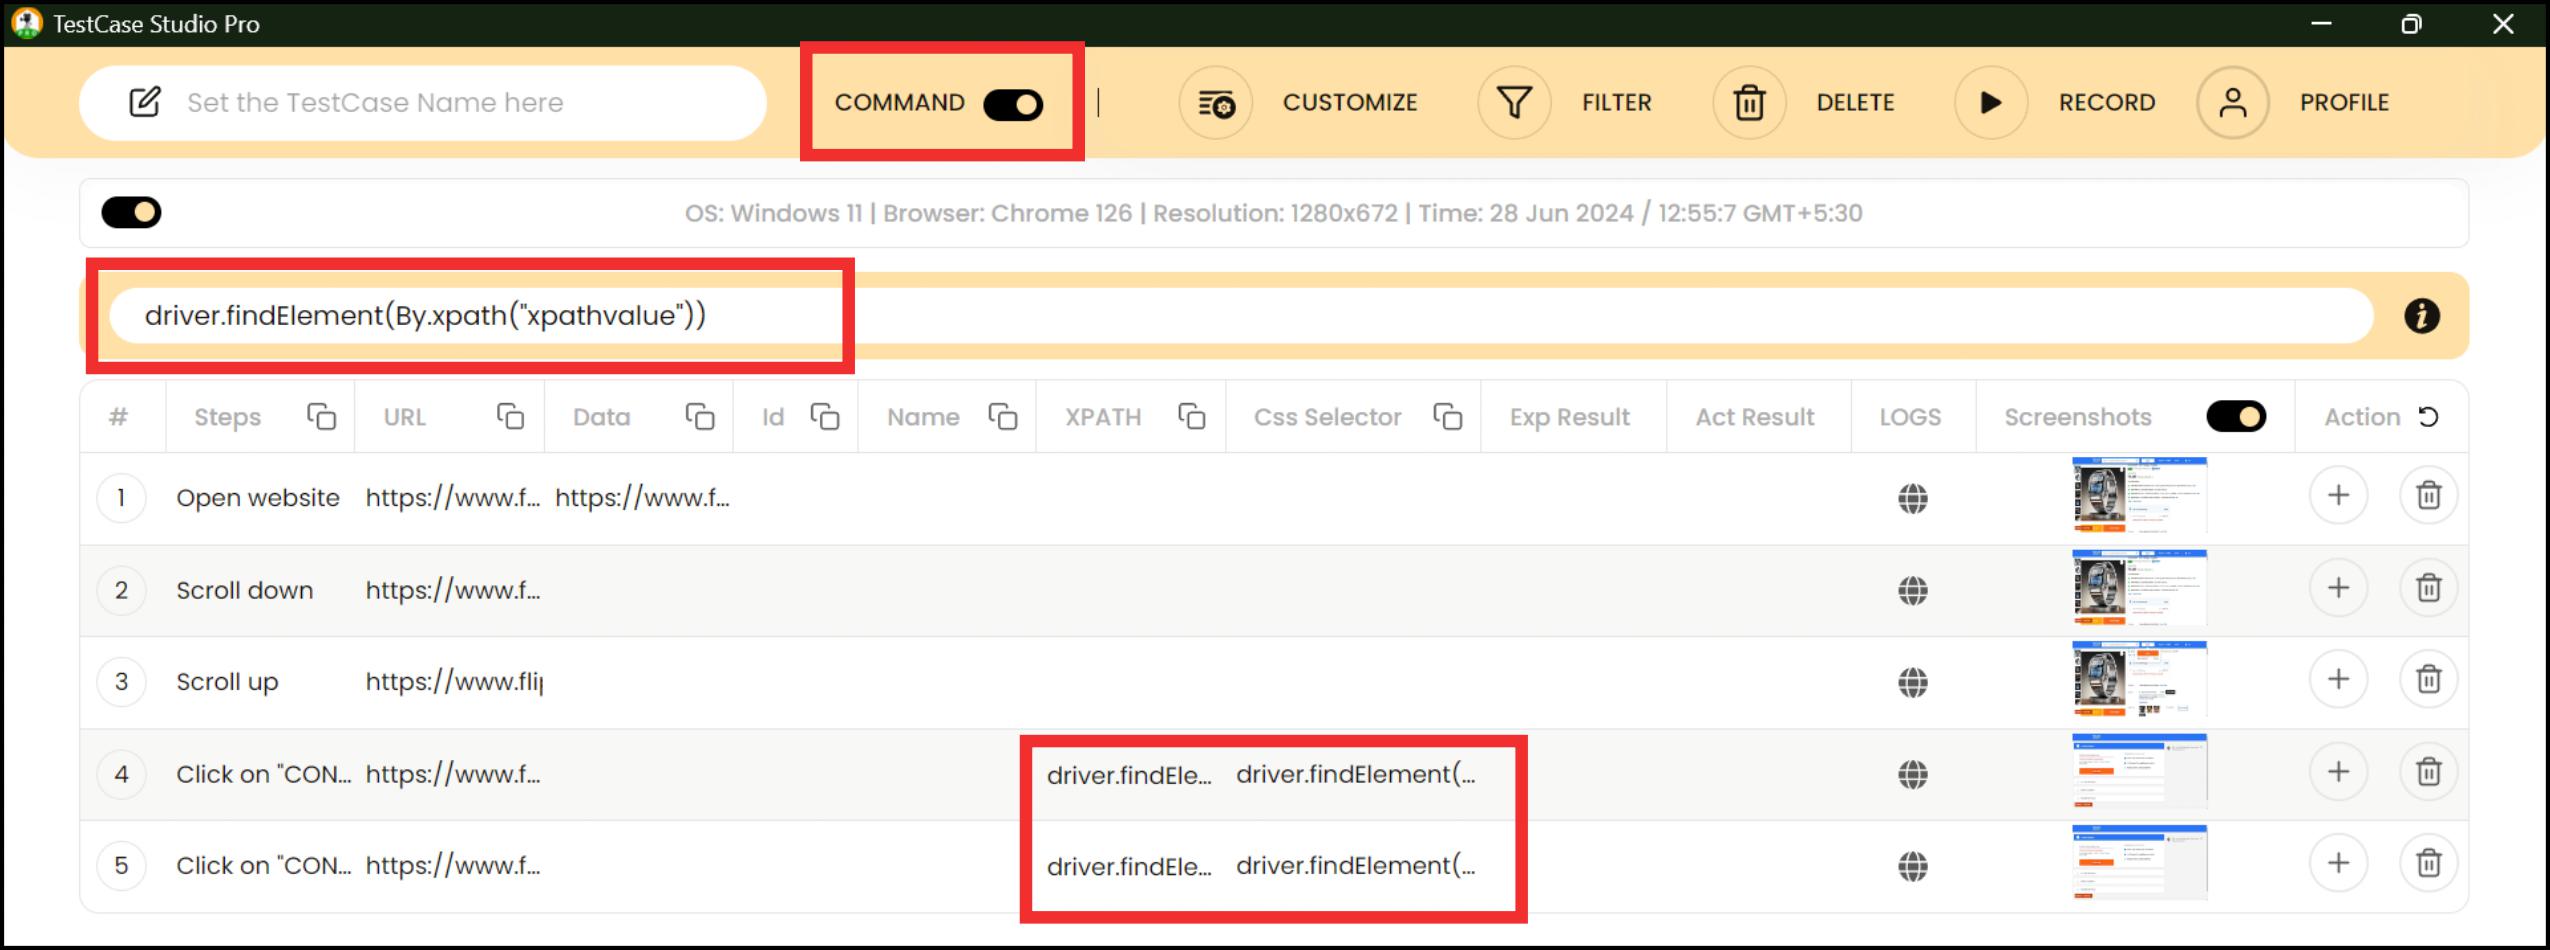
3. Enable Commands: Turn on the command feature in TestCase Studio. This will append commands like driver. find element to each XPath and CSS selector, creating a pseudo-code script.
4. Copy and Customize: Copy the generated pseudo-code and paste it into your automation Framework. Customize the script as needed such as adding specific data values or modifying commands. 5. Complete the Script: Ensure all steps are included in the script. For example, entering data into Fields, clicking buttons, and performing other actions should be accurately represented in the script. 6. Execute the Script: Once the script is complete, execute it within your automation Framework. The generated script should be stable and reliable, minimizing the need for additional adjustments.
This process allows you to create a stable automation script efficiently, leveraging the capabilities of TestCase Studio to streamline the script generation.