
Simplified Screenshot Management with TestCase Studio
Managing screenshots during website testing can become overwhelming, especially when you end up with unnecessary images. TestCase Studio addresses this issue with its efficient feature that allows you to select and download only the required screenshots. Here’s how you can make the most out of this functionality.
Step-by-Step Guide to Select and Download Screenshots
1. Start Your Testing with TestCase Studio
Begin by launching TestCase Studio and performing your usual testing actions on the website. As you go through different steps, TestCase Studio will automatically capture screenshots of each action.

2. Select the Screenshots You Need
When you’re ready to save specific screenshots:
Hover over the desired screenshot in the TestCase Studio interface.
A check mark will appear on the screenshot. Click the check mark to select it.
Repeat the process for all the screenshots you wish to download.
This selective approach ensures that only the necessary images are included in the final output.
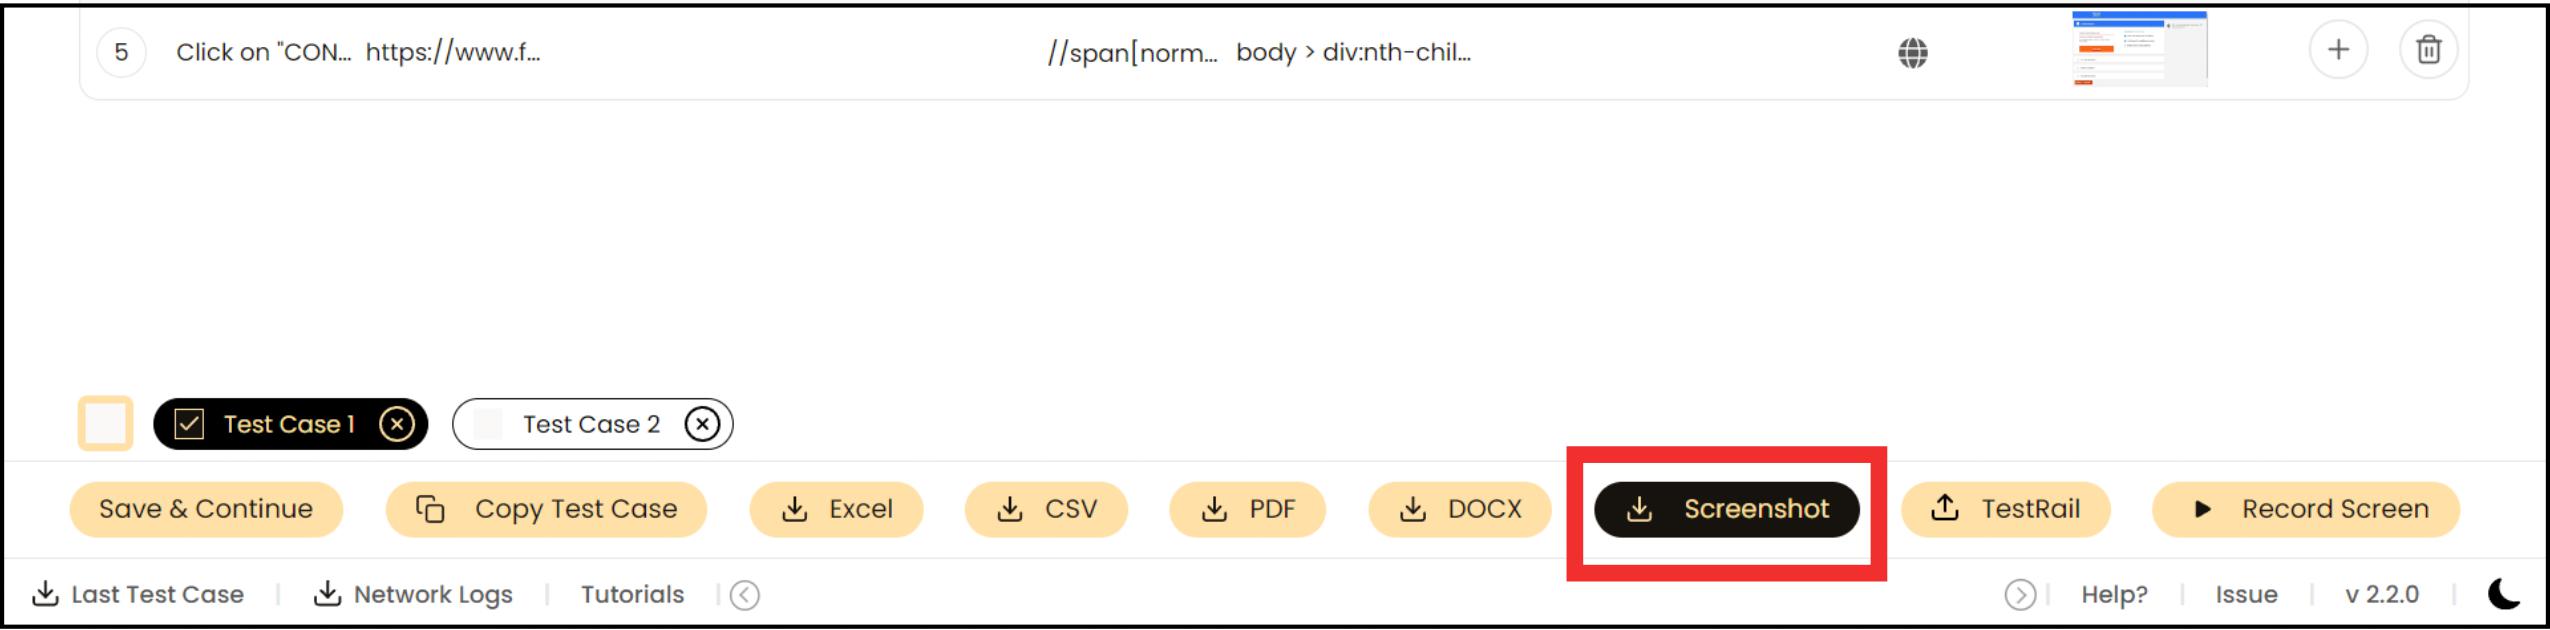
3. Download Selected Screenshots
After selecting the required screenshots:
Click on the “Download Screenshot” button.
TestCase Studio will create a zip folder containing only the selected screenshots.
This feature not only saves storage space but also simplifies organizing your test documentation.
4. Save a Single Screenshot
If you’re looking to download a single screenshot, there are two simple options:
Right-click on the screenshot and choose the save option.
Alternatively, select the screenshot and click the download button. TestCase Studio will save it with the step name for easy reference.
Benefits of Selective Screenshot Download
Memory Optimization: Avoid cluttering your storage with unnecessary screenshots.
Enhanced Workflow: Focus on the relevant actions without sifting through unrelated images.
Effortless Documentation: The step name tagging ensures clarity in your reports.